Dither Image
Dither an image or video down to a few colors: 1-bit black and white, a Bayer crosshatch or a retro console palette. Free image dithering, all in your browser.
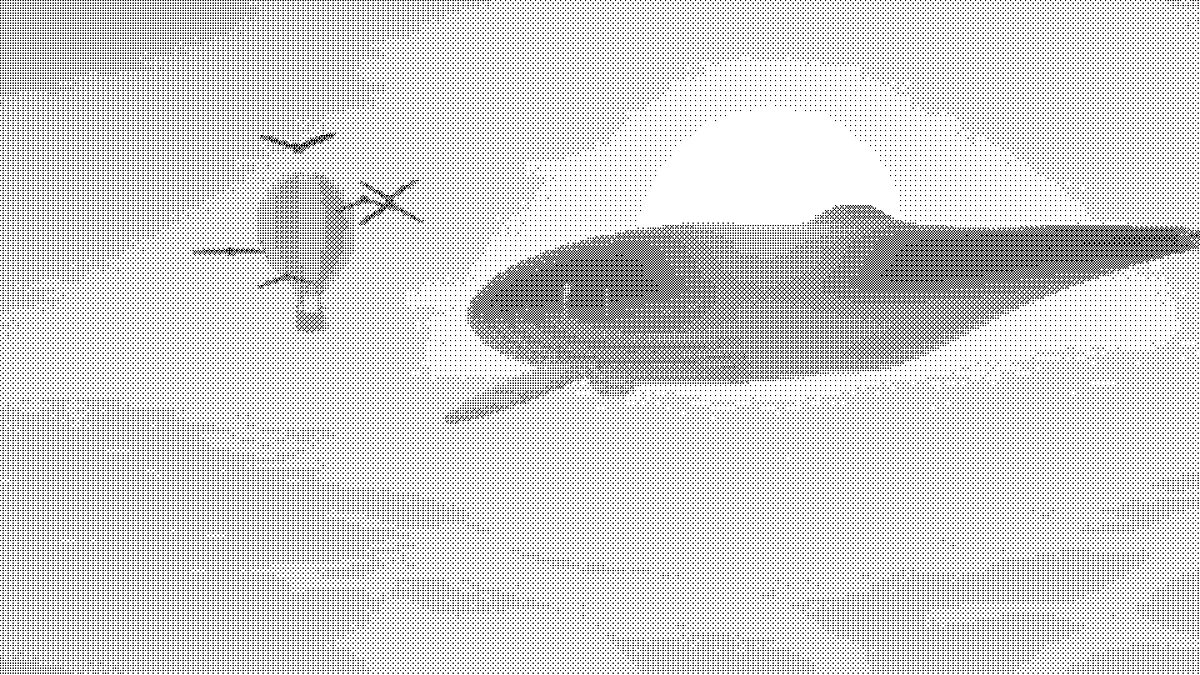
What does it mean to dither an image?
Dithering fakes the colors a palette doesn't have by mixing the ones it does have in a fine pattern, and your eye blends that pattern back into the missing shade. A 1-bit image holds only black and white. Dither a gradient into it, though, and it still reads as a smooth run of grays.
This tool uses ordered dithering, which means each pixel gets compared with a threshold map tiled across the picture. The classic map is the Bayer matrix, named after Bryce Bayer of Kodak. It's the one behind the crosshatch you'll remember from 16-color Windows and old consoles.
How to dither a picture
Upload an image or video and pick a Preset to start from: 1-bit Bayer, Blue noise, Game Boy, CGA, C64, PICO-8, Adaptive or Mixed inks. Pattern chooses the threshold map. You get Bayer 2x2, 4x4 or 8x8, Blue noise, shapes such as Hatch, Stars or Hearts, a Custom picture of your own, or Threshold, which is a hard cutoff with no pattern at all.
Palette sets the only colors the result is allowed to use, anywhere from two to sixteen, and you can change every swatch. Spread controls how far the pattern pushes colors. Mixing decides how it blends the inks (both of Joel Yliluoma's algorithms are in there), and Judge by sets how the nearest ink gets found.
Dot size counts in pixels of a 1080-pixel-tall frame, so any picture ends up with about 1080 divided by Dot size rows of dots. Brightness and Contrast shape the tones before the dither runs.
Settings for a CGA screen, a four-gray e-paper panel and a patterned poster
CGA screen: choose the CGA preset. It sets Bayer 2x2, black, cyan, magenta and white, Spread 0.45 and Dot size 3. Bump Dot size up to 5 and you get about 216 rows of dots, which is close to the 200 lines of the IBM Color Graphics Adapter's four-color mode.
Four-gray e-paper panel: pick Grey 4 under Palette, set Pattern to Blue noise, Dot size to 1 and Spread to 0.33. A handy rule is to set Spread to the brightness gap between neighboring inks: 1 for black and white, a third for four even grays. Go higher than that and some pixels jump past the next gray to the one after it, which just looks like noise.
Patterned poster: set Pattern to Hearts or Stars, Dot size to 6 and Contrast to 0.3. Each motif is an 8 by 8 tile, so at Dot size 6 every heart spans 48 pixels of a 1080-pixel frame and actually reads as a shape. The extra contrast means fewer half-filled motifs in the midtones.
Should I use ordered dithering or error diffusion?
Error diffusion is the method behind Floyd-Steinberg Dithering and Atkinson Dithering. It passes each pixel's rounding error on to neighbors it hasn't reached yet, so it keeps more fine detail and leaves an organic grain. For a still where detail matters most, that's usually the better pick.
Ordered dithering is the one for the retro crosshatch, and for anything that moves. A pixel's ink depends only on its own color and its place in the pattern (the Adaptive pattern is the exception, since it reads the brightness around it). That's why the parts of a clip that stay still keep the same dots in every frame.
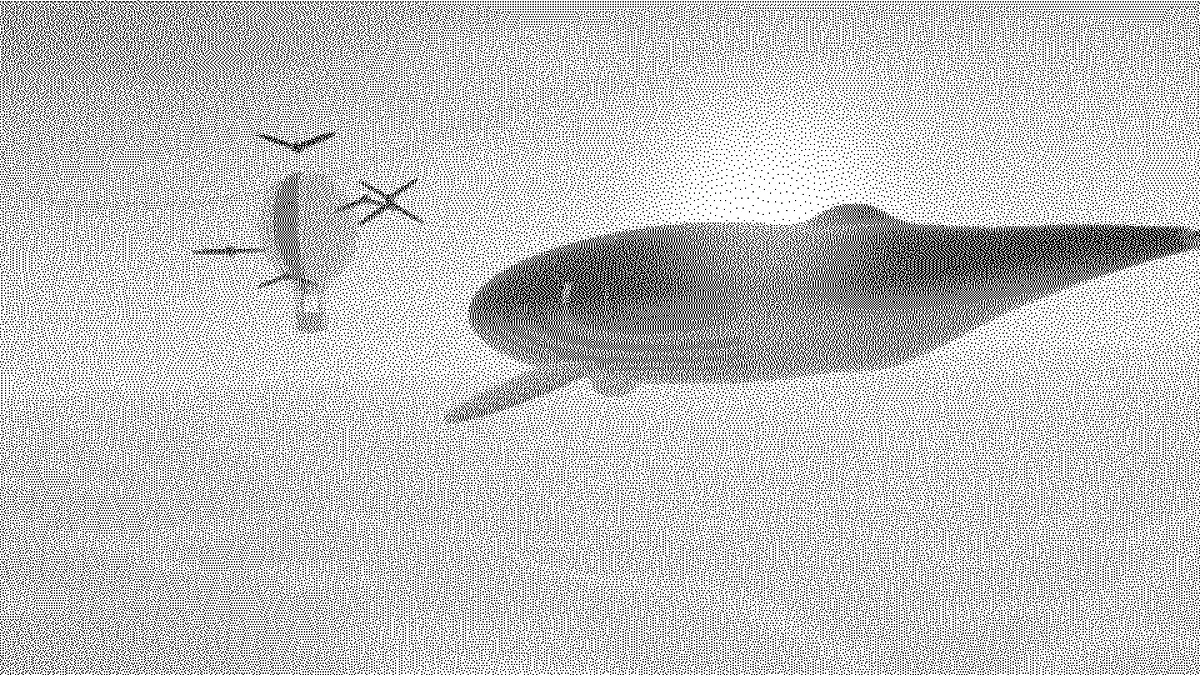
Why does my black-and-white dither look lighter than the photo?
With two inks, Judge by moves the point where the pattern splits. By eye (OKLab) measures lightness the way people see it, and on that scale a mid-gray sits closer to white than to black. So a flat 50% gray prints with three dots in eight black. Switch Judge by to RGB and the same gray comes out half black, half white.
Take the example photo: its pixels average 72% of full brightness. The default 1-bit Bayer result averages 83% by eye and 72% with RGB. Use RGB when the dither has to keep the photo's tone, and By eye when you like the airier look. If the shadows still come out thin, drop Brightness a little or raise Contrast.
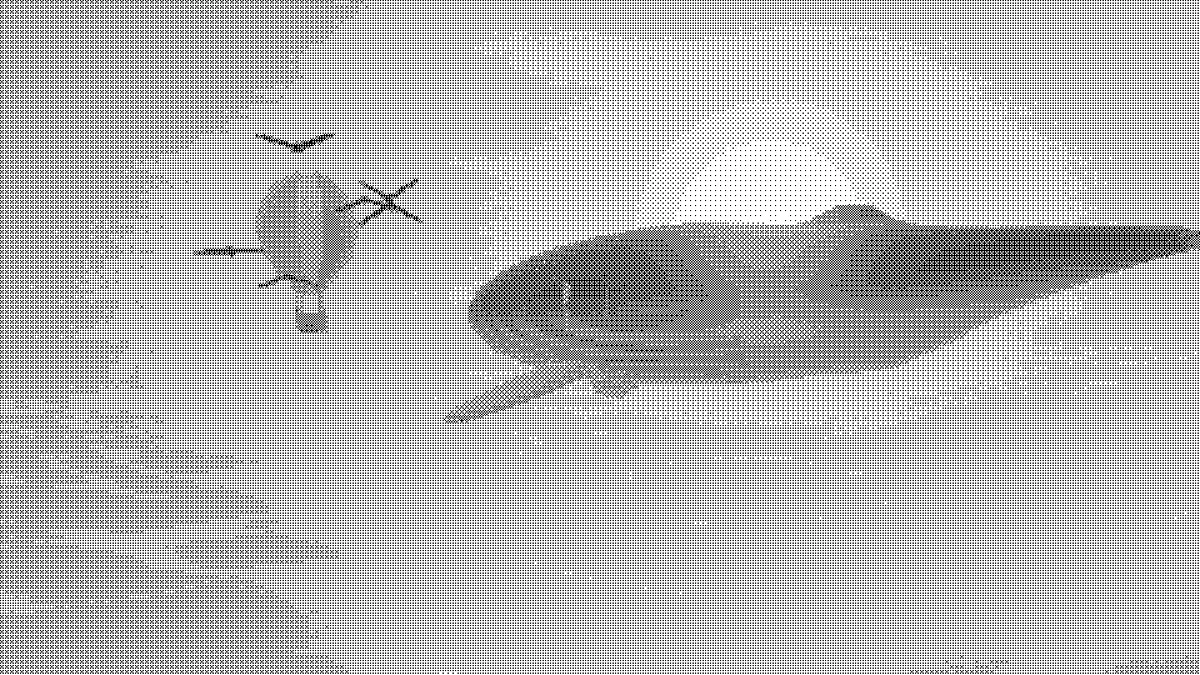
How do I dither a photo for laser engraving?
Laser software dithers a photo on its own before it burns, so a picture you've already dithered here needs an image mode that sends the pixels through as they are. In LightBurn that's Pass-Through. It engraves the image unchanged instead of dithering your dots a second time.
In Pass-Through each row of pixels is one line of the laser. LightBurn works out the resolution as 25.4 divided by the line interval in millimeters, so a 0.1 mm interval is 254 DPI and a PNG 2048 pixels tall engraves 204.8 mm tall. Dot size gets rounded to whole pixels of the saved file. On that 2048-pixel PNG, Dot size 1 makes dots 2 pixels across (0.2 mm on the wood), and Dot size 3 makes them 6 pixels, or 0.6 mm.
People in LightBurn's own forum tend to recommend error-diffusion kernels like Jarvis or Stucki, and you'll find those in Floyd-Steinberg Dithering under Algorithm. The ordered patterns here put the same regular texture over every flat area, skin and sky included.
Saving a dithered picture
PNG keeps every dot exactly. A cut-out sprite keeps its transparent parts too, since the dither doesn't touch the alpha channel. JPG and WebP get saved at 92% quality, and that smears one-pixel dots into gray fringes.
GIF export shrinks a frame to 960 pixels on its long side. With a dither in the chain it does that without blending, as long as each dot still gets at least one pixel: Dot size 3 and up on a landscape 720p clip, Dot size 2 and up at 1080p. Anything smaller still runs together. At Dot size 6 each dot is exactly four pixels in the video and three in the GIF.
The pattern affects the GIF's size as well. One 960 by 540 frame of the example photo came to 71 KB undithered, 49 KB in 1-bit Blue noise and 7.6 KB in the default 1-bit Bayer 4x4. The Bayer tile repeats every four pixels, which GIF's compression packs tightly. The blue noise tile runs 64 pixels before it repeats.