Green Screen Remover
Chroma key green screen remover: cut the backdrop out of a video or photo and keep real transparency, as WebM with alpha or PNG. Free, keyed in your browser.
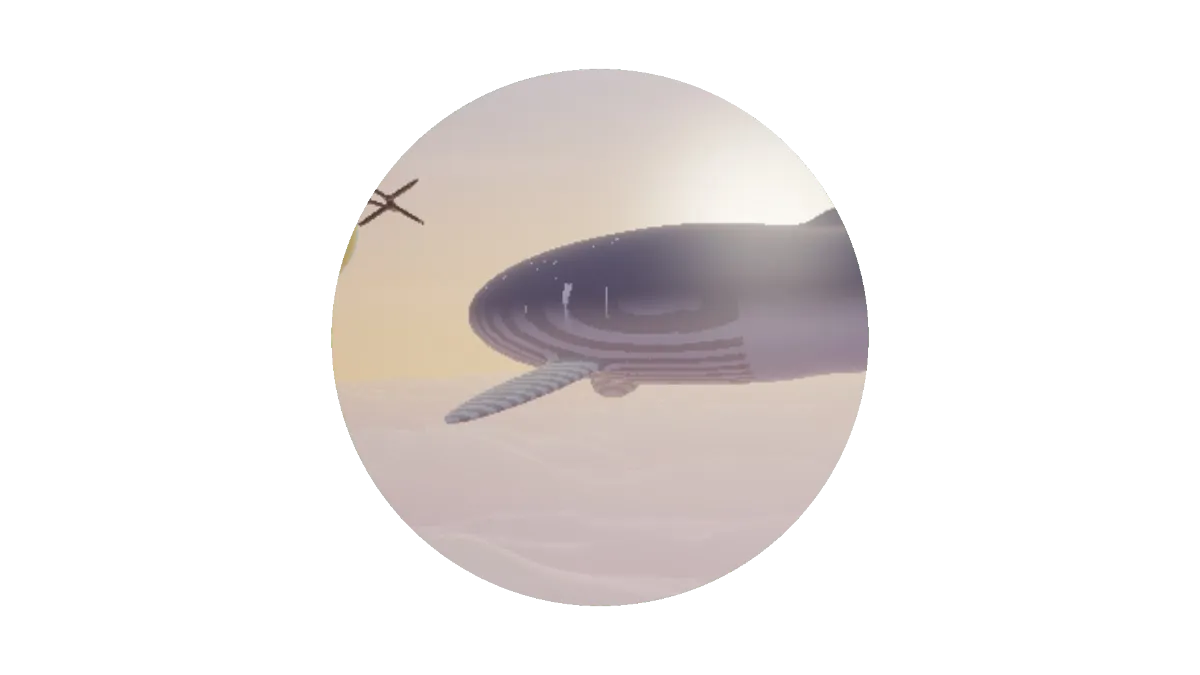
What is chroma keying?
Chroma keying cuts one color out of a shot so another picture can show through. The chroma key green screen is the evenly lit backdrop behind the subject. Green and blue are the usual picks because they're the furthest in hue from human skin.
Larry Butler's blue screen work on The Thief of Bagdad (1940) won him an Academy Award. Petro Vlahos got one in 1964 for refining the process.
How to remove a green screen from a video or photo
Start from the Green screen or Blue screen preset, or set Key colour to the backdrop as it looked when you filmed it. Then raise Tolerance until the backdrop's gone, and add a bit of Softness if you want a smoother edge.
Brightness range sets how far a pixel's brightness can differ from the key's and still get cut. At 1, brightness is ignored. Spill takes the key color's tint off the edges that are left: that's the green fringe that light bouncing off the backdrop leaves on hair and skin. Tight suits an even screen and Loose an uneven one, and Knock out black removes a black background instead.
Settings for a studio screen, a creased sheet and a white product shot
For a studio screen that's lit evenly, pick Tight (Tolerance 0.15, Softness 0.04) first and then type the screen's own hex code into Key colour. Do it in that order. A preset resets every setting it doesn't name to its default, and that includes Key colour. Once the key matches the backdrop, that narrow Tolerance clears it and leaves a teal shirt in front of it alone.
For a creased sheet, or a wall lit by one lamp, use Loose: it sets Tolerance 0.38, Softness 0.12 and Brightness range 1. Since brightness is ignored, the folds in shadow go along with the lit parts; they share the hue, just not the brightness. If green still rims the hair, raise Spill to 0.8.
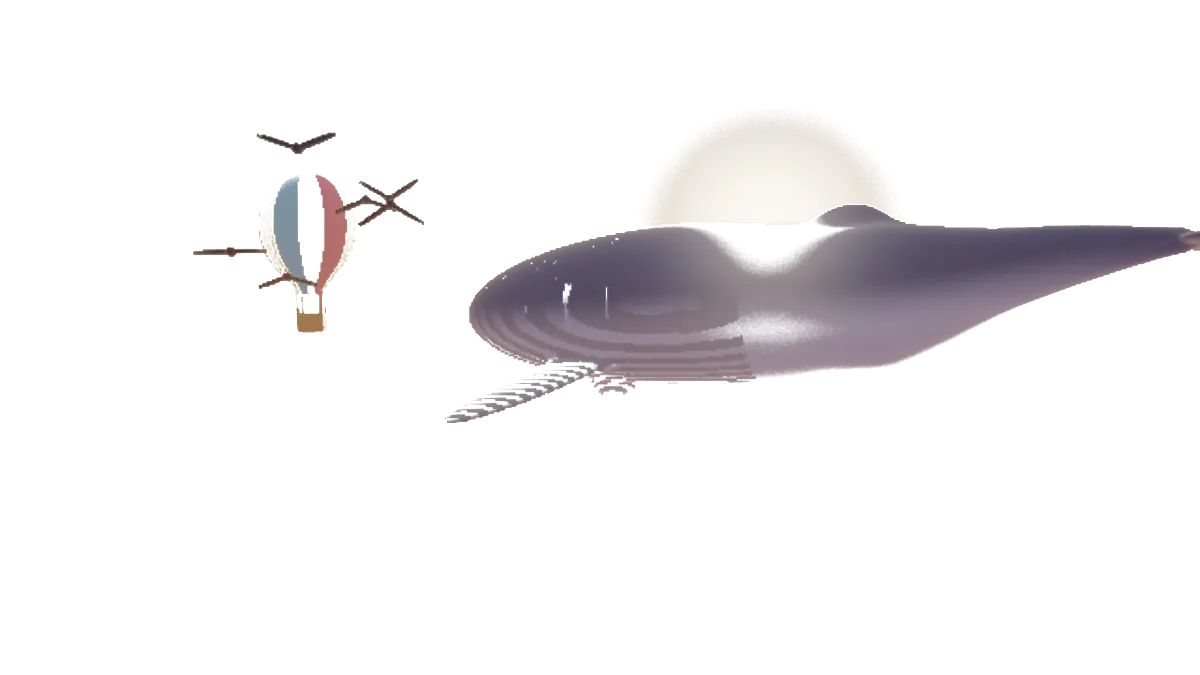
For a product on white paper, set Key colour to the paper as it looks in the shot, then Tolerance 0.1, Softness 0.05, Brightness range 0.12 and Spill 0. White has almost no hue, so brightness does the cutting here, same as in Knock out black. The gray shadow under the product survives because it's darker than that range allows. Anything white or cream on the product goes with the paper, though, like the balloon's white stripe in the figure. Keep Spill at 0, because a white picked from a photo is rarely neutral. The clouds in the figure read #c5b6b7, slightly red, and at the default Spill of 0.5 the balloon's red stripe lost a sixth of its red.
How does this green screen remover decide what to cut?
It compares each pixel with the Key colour on the Cb and Cr plane of YCbCr, which keeps color apart from brightness, and then runs a second check on brightness alone. A pixel only gets cut when it's close to the key on both. Softness fades it out over a band past each limit.
The default Key colour is pure #00ff00, which is brighter and more saturated than any real lit screen. A green screen in shadow can sit 0.4 or more away from it on that plane, past the default Tolerance of 0.3. So you're better off matching the key to the footage than raising Tolerance, which starts eating into the subject. The Color Tools hub has a picker that reads a pixel's hex code from a still of the shot.
Why do parts of my subject disappear?
The key cuts every pixel near the Key colour anywhere in the frame, whether it touches the backdrop or not. A green shirt, a plant or the screen's reflection in someone's glasses all go with it. Lower Tolerance first. Then narrow Brightness range, which is what saves a dark green jacket in front of a bright screen.
On a pale or gray backdrop, lowering Tolerance stops helping. Set the key to the clouds in the photo at the top of this page and 99.6 percent of the photo's pixels lie within 0.1 of it on the Cb and Cr plane, the whale's body included. Even Tight's Tolerance of 0.15 takes in nearly all of them. With Brightness range left at 0.35, Tight cut 57 percent of the whale's pixels darker than mid-gray and thinned another 17 percent. At 0.12, as in the white-paper recipe, it didn't touch any of them.
If the subject has to wear green, film on blue and use the Blue screen preset. A thin green rim on hair is spill. Raising Spill fixes it by pulling the green channel down toward the higher of red and blue.
Why does my keyed clip have a black background?
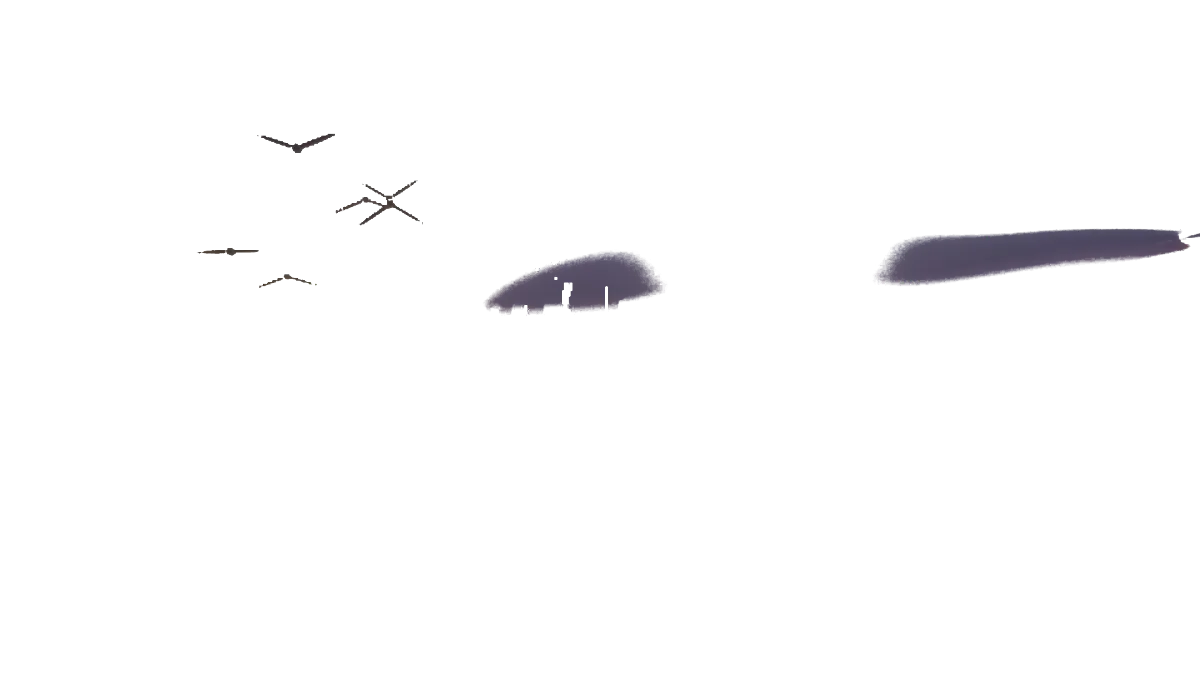
When the key cuts a pixel completely, it does two things: it makes the pixel clear and sets its color to black. A format with an alpha channel keeps the clear part. MP4, plain WebM and JPG don't have alpha, so all that's left of the cut is the black. You'll see the same thing in an editing app that opens a transparent file but ignores its alpha.
Save a still as PNG, or as WebP if you want a smaller file that still keeps the transparency. For a clip, WebM with transparency is the smallest file that keeps the cut; Animated PNG is lossless but big. PNG sequence, a zip with one PNG per frame, is what you hand an editing app that won't open the WebM. And MP4 on green is for an app that can't read transparency at all. It fills the clear areas with #00b140 so that app's own keyer can cut them again.
To turn the keyed subject into a sticker, save a PNG and load it into Add Outline to Image. Then cut away the empty canvas around it with Trim Transparent Edges.