Posterize Image
Posterize photos and video into flat bands of color, from 2 to 20 steps per channel, for bold poster-style posterization. Free; save as PNG, MP4 or GIF.
What is posterization?
Posterization turns smooth gradations of tone into a few flat regions with sudden jumps between them. The name comes from mass-produced posters, which were printed with just a handful of inks.
A posterize filter does that deliberately, to get a flat, graphic look.
How does the posterize effect work?
It rounds the red, green and blue channels separately to evenly spaced values. Fewer Levels means wider, flatter bands, and at the low end a photo breaks up into bold blocks of color.
Each channel gets cut on its own, so one can step before the others. That's why posterized gradients pick up tints the photo never had.
Levels is the number of values a channel can take, black and full included, so the picture holds at most Levels cubed colors. That's 8 at 2 steps (black, white, red, green, blue, cyan, magenta and yellow), 64 at 4 steps and 216 at 6.
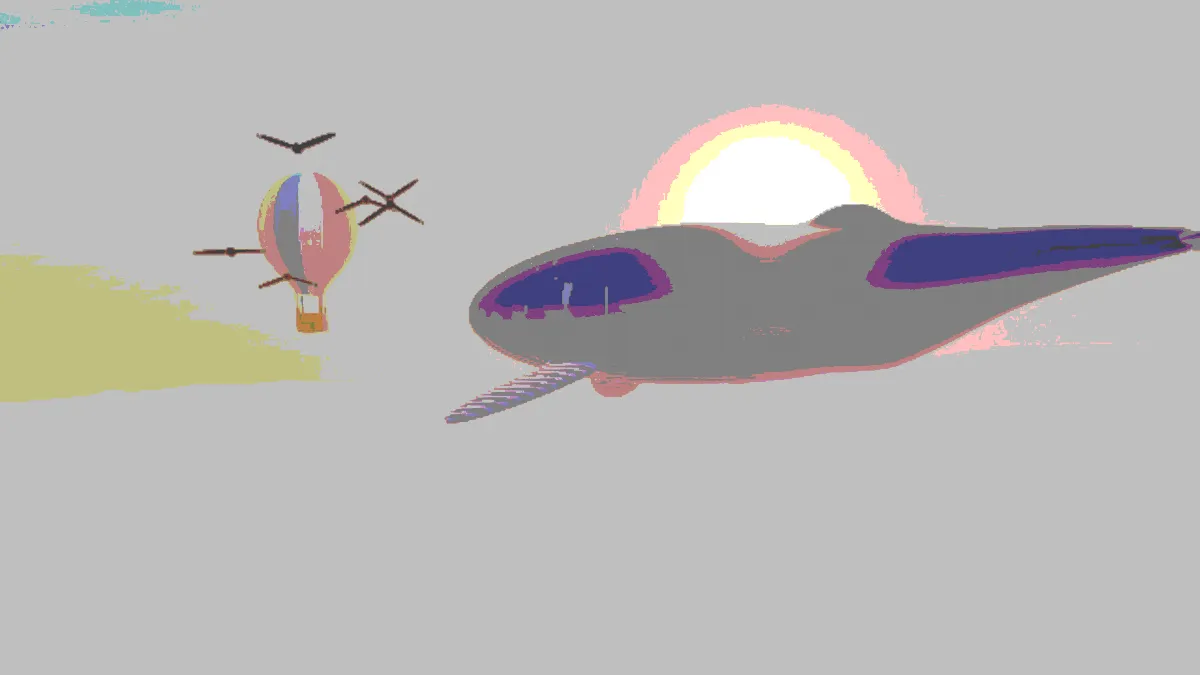
Those are upper limits. The pale, soft whale and balloon picture behind this page's example used 12 of the 64 colors at 4 steps and 27 of the 216 at 6, because its pixels only reach some of the combinations.
Why does a photo get posterized by accident?
Each channel of an 8-bit image holds 256 levels. Stretching the histogram with levels or curves, or converting to another color space, pushes those levels apart, and smooth areas like a clear sky start showing steps. Squeezing a photo into a 256-color GIF has the same effect.
Editing at 16 bits per channel keeps far more levels and mostly avoids it. Posterizing on purpose is the opposite move: you decide how few levels to keep. If you'd rather hide bands than show them, the Dithering & Halftone Effects hub breaks them up into patterns of dots.
How to posterize a photo or video
The page opens on the 4 steps preset. Drag Levels anywhere from 2 to 20, or pick the 2 steps, 3 steps, 8 steps or 16 steps preset.
Low values give you the flat, graphic look of a printed poster. At 16 steps the banding only shows in smooth gradients, a clear sky for instance.
For exactly two colors at a brightness you pick, use Threshold Image. Its Per channel mode at Level 0.5 gives the same eight colors as 2 steps does here.
Settings for a screen print, web-safe colors, 1980s PC graphics and vector tracing
For a screen print poster, use Levels 3. Each channel is then black, half or full, 27 colors in all, and that's bold enough to read as a hand-pulled print. For web-safe colors, use Levels 6. Its six values a channel (0, 51, 102, 153, 204 and 255) make exactly the 216 web-safe colors early web designers depended on for 256-color displays.
For 1980s PC graphics, try Levels 4. The values 0, 85, 170 and 255 make the 64-color palette of IBM's EGA card, which could show 16 of them at once. For vector tracing, go with Levels 3 or 4, then convert with the vector tools on the Image Tools hub. Flat regions with clean borders trace into much simpler paths than a photo does.
How do I make a value study for a painting?
Make the picture gray first. Otherwise each color channel steps on its own and the bands won't follow lightness. Open it in Black and White Converter, raise Contrast and save a PNG. Then posterize that here at Levels 3 for light, middle and dark, or 4 if you want one more value.
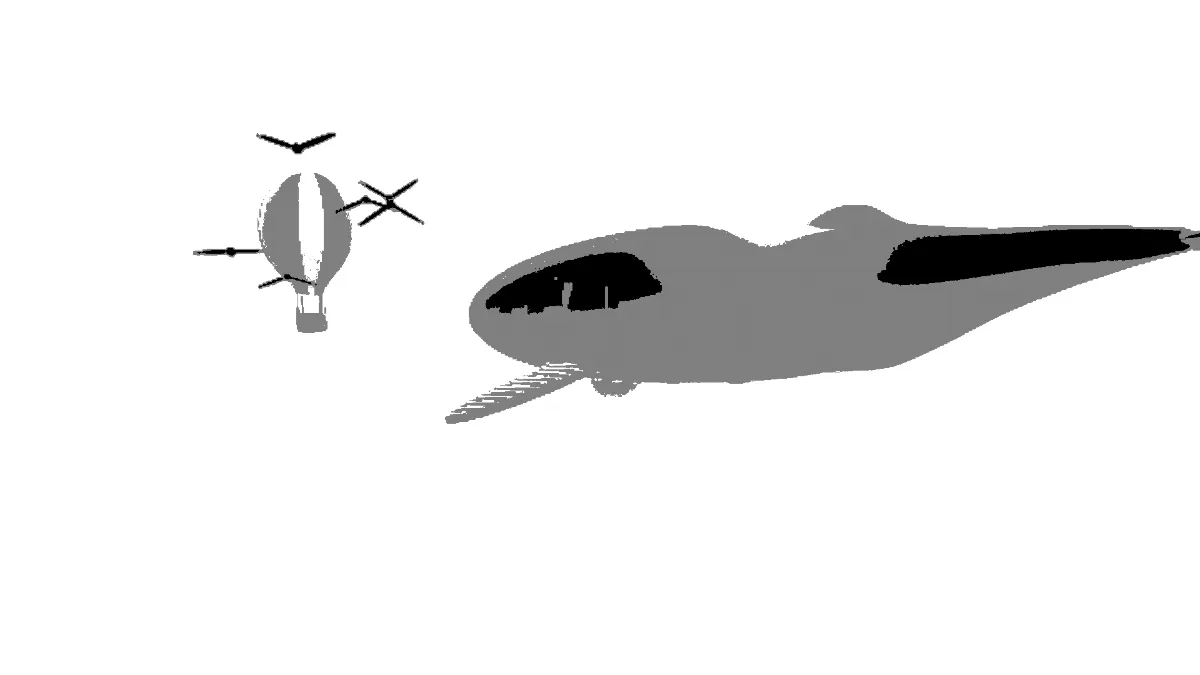
Contrast matters because Levels cuts the full range from black to white into equal steps, no matter where the picture's own tones sit. Run the pale example picture through the converter's preset and then 4 steps, and 88 percent of it lands on one gray. With Contrast at 0.3 and Levels 3, its sky and clouds came out white, the whale and most of the balloon mid gray and the birds black. That's a usable three-value map.
Saving posterized pictures
Up to 6 steps, a posterized picture has 216 colors or fewer, which fits inside a GIF's 256, so a posterized GIF keeps its flat bands exactly. At 2 to 4 steps the Dither box in the GIF export doesn't matter. A 960 by 540 frame of the example came out byte for byte identical with it ticked or not, 10,512 bytes at 4 steps compared with 148,605 for the frame unposterized.
From 8 steps up, untick it, because the bands are close enough for the pattern to mix: at 16 steps dithering grew that frame from 44,891 to 75,583 bytes. For stills, PNG is the best fit for flat color, since big uniform areas compress to small files. JPG adds ringing and faint blocks along every band edge.