Invert Colors
Invert an image or video: black turns white and each color flips to its opposite for a negative image, or flip only the lightness. Free, as PNG, MP4 or GIF.
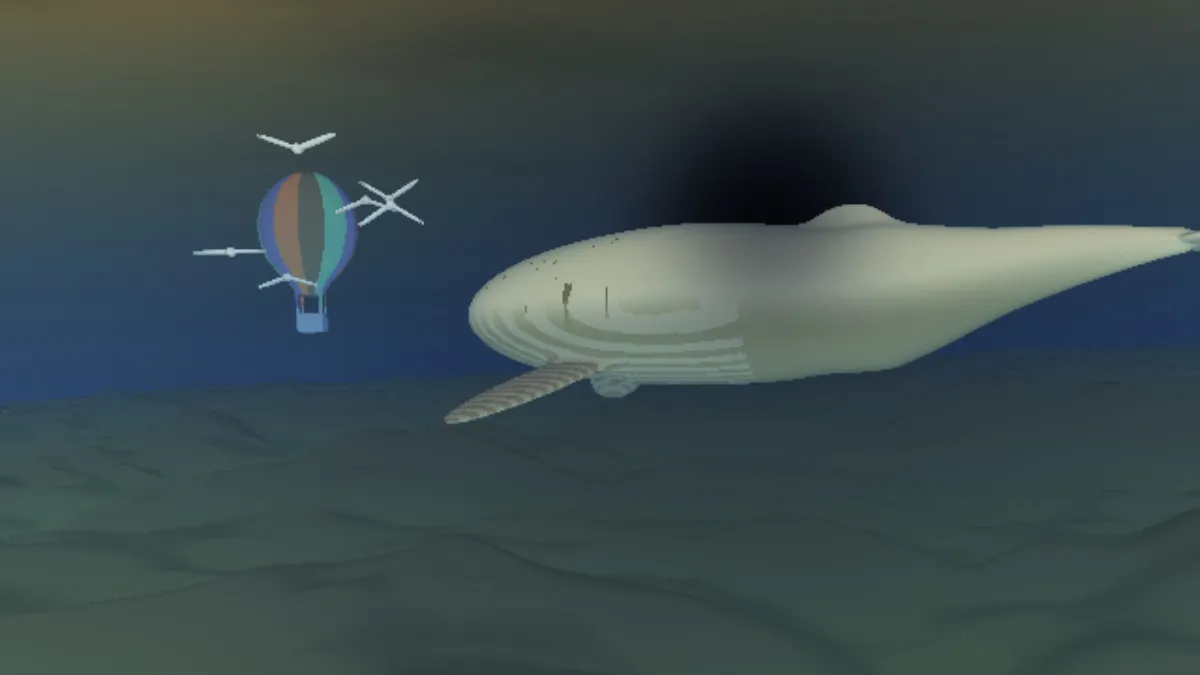
What does it mean to invert an image?
Inverting an image subtracts each color channel from its maximum, so black becomes white, red becomes cyan and blue becomes yellow. You end up with a negative, light and dark reversed and every hue swapped for its complement.
People sometimes say invert when they mean mirror, as in flipping a picture left to right. This tool changes colors and leaves every pixel in place. To turn a picture around, use the flip tool on the Image Tools hub.
How do I turn black to white in a picture?
Load the picture and leave Mode on Colour with Amount at 1, which is what the Negative preset does. Black turns white and white turns black. On a black and white scan or a page of text, that swap is the entire change.
On a color photo every hue flips too. Lightness only also turns black to white, but each color keeps its own hue.
A black logo on a transparent background comes out white, with its see-through parts and soft edges intact, since the effect doesn't touch the alpha channel. Save it as PNG to keep them.
What is the difference between Colour and Lightness only?
Colour is the classic negative, where red, green and blue all flip. Lightness only converts each pixel to OKLab, flips its lightness and keeps its hue and chroma, so a pale blue sky turns deep blue and doesn't go orange.
OKLab measures lightness the way the eye judges it, so pale tones get much darker in Lightness only than in a negative. On the whale and balloon picture used for this page's example, the average brightness dropped from 182 out of 255 to 73 with Negative, and to 27 with Lightness only.
Red, Green and Blue each flip a single channel and leave the other two. Amount blends with the original, and near the middle, Colour mode washes everything out toward flat gray. That's why the Faded preset stops at 0.75. Solarize Effect is the partial version, flipping only the tones below a pivot.
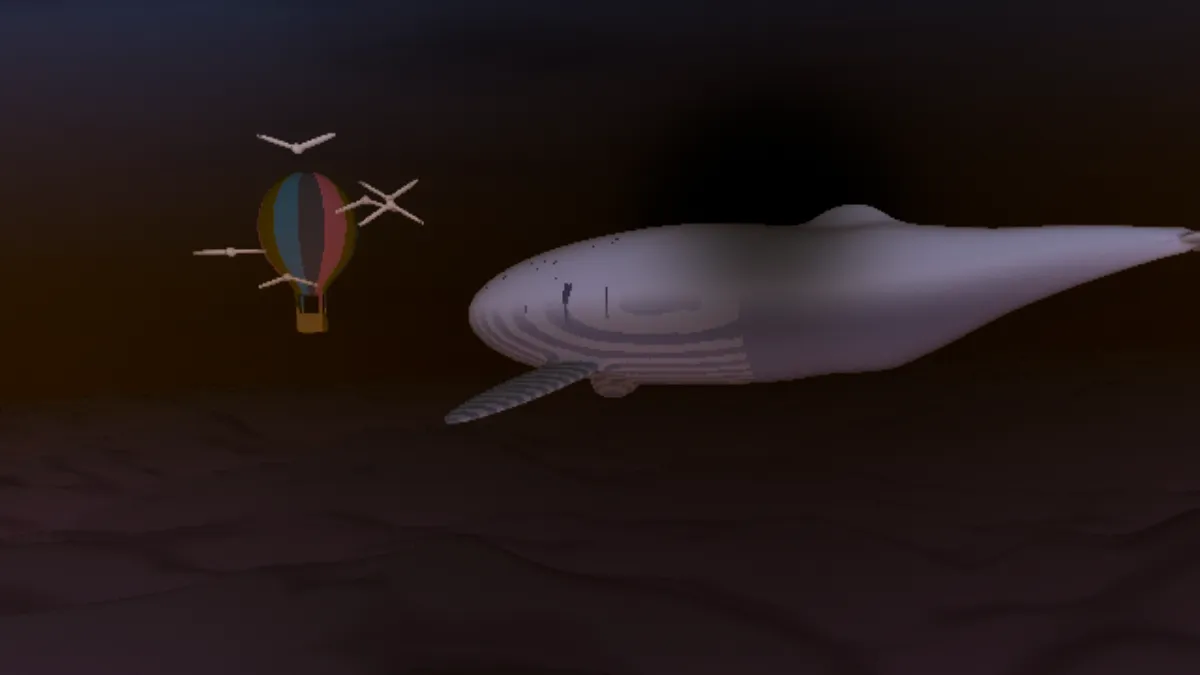
Settings for a dark-mode chart, a film negative, an X-ray look and a channel swap
For a dark-mode chart or screenshot, use Lightness only at Amount 1. The white background goes near-black and black text turns white, but a blue line stays blue and a red one red, so the legend still matches. For a black-and-white film negative, use Negative at Amount 1. There's no orange mask in that kind of film, so the plain inversion does the whole job, and Contrast and Gamma in Black and White Converter finish the print.
For an X-ray look, drain the color in that converter first, save, then use Negative here. Whatever was dark now glows white like bone on film. For a channel swap, Blue flip turns a blue sky olive green and a yellow flower pale pink. It's a strong color change that leaves light and dark where they were.
How do I invert a scanned color negative?
Load the scan and use Negative. A color negative also has an orange mask built into the film to correct its dyes, though. Inverted, that orange becomes a strong blue-cyan cast that inverting alone can't get rid of.
If you want a black-and-white result, a grayscale conversion after the invert drops the cast along with the color. For true color, you'll need a scanner's negative mode or a converter made for film, which removes the mask properly.
Should I invert a picture before laser engraving it?
On slate or glass, yes. LightBurn's manual points out that burned areas on those materials turn lighter, so a picture engraved as-is comes out as a negative. Its Negative Image setting flips the picture at engraving time, and inverting the file here does the same thing before you import it. On wood the burn is darker than the surface, so leave the picture alone.
With a photo, make it gray in Black and White Converter first, then use Negative here and save a PNG. Inverting a gray picture is exact. In a test on a ramp of all 256 grays, every level came out as 255 minus itself, so no two tones merge before the engraving software gets to them.
Saving an inverted image
In Colour mode, inverting loses nothing. Run the example picture through Negative twice and every pixel comes back exactly as it was, so you can always turn a saved PNG back. Lightness only is close but not exact: after two passes, 3.5 percent of the channel values were more than 2 levels off, by as much as 27.
A JPG adds small errors of its own every time it's saved. For a dark-mode screenshot or chart, PNG keeps text edges sharp and big flat backgrounds small.